I love vermicompost. I also love worm bins. As a container grower, composting food waste can be a struggle. With a small compost bin, it’s difficult to achieve the critical mass needed for hot decomposition to occur. While small compost bins can be effective for small-space growers, wormeries are ideal. Even if you’re not confined to a small area, there are a lot of reasons to start vermicomposting.
Worm bins aren’t incredibly expensive, but they’re not cheap either. In this guide I want to offer some general buying advice. My aim is to give you all the information you need to pick a bin that’s suited to your needs. I’ll also run down some of the main features of the most popular bins on the market.
Let’s dig in.
The short version: best worm bins
Click here to jump to our selection of some of the best worm bins from around the web.
[ws_table id=”40″]
What is a worm bin?
If you’re reading this then you likely already know about worm composting and worm bins. If you don’t then here’s a quick definition:
A worm bin is a closed environment in which red wrigglers (Eisenia Fetida) compost food scraps. Vermicompost is worm poo. Red wrigglers ingest and excrete food waste and reproduce (so there are more worms to eat all your scraps).
Worm compost is incredibly rich in nutrients. The reason that red wrigglers are used is because they’re pretty greedy eaters. They also don’t mind having their home mixed up a little whenever you add new waste. It’s important to feed them regularly a little and often approach works best) and trays can be added to the top of your bin when others get full.
Do you need a worm bin?
Yes. Well…most people dont need worm bins, but I think most people should have them! As I’ve already mentioned, worm compost is chock full of nutrients and it’s an excellent addition to soil.
How big should your worm farm be?
The size of your worm farm depends on the amount of food waste you have. Worms can eat about half their bodyweight in food per day. So if, on average, you produce a kilogram of food waste (which is about equivalent to a small bag) then you will need 2kg of red wrigglers. My advice is usually to start with a smallish amount of worms and increase as you need to (you can always throw waste out until more worms arrive). Worms can be purchased online or from a local supplier.
You don’t need a small bin to compost small amounts of waste, so it doesn’t matter if you’re bin is a touch bigger than it needs to be.
Worm bins vs. compost heaps
Worm bins don’t need heat. They like it cool, dry and not too bright. Around 20°C to 24°C is ideal. This is a big positive for container growers. If you have a big space (lucky you) then why not go for both?
The Basics of Worm Composting
To quickly cover the basics, you will need to provide your worms with bedding (coir and newspaper are both popular options), moisture and food. You’ll also need to let your worms settle in for around a week or two. Make sure food waste is torn up (they only have little mouths). The mix should resemble a wet cloth in terms of water content.
It is good practice not to harvest for the first six months, after which you can harvest more frequently every month or two months. There are multiple ways to harvest – you can either take everything out in one go (repeating the process of adding bedding and food again) or take a few handfuls as you need them. When adding food, it’s also important to make sure that bedding is present (so add a little more every time). Personally, I prefer harvesting in bulk in one go.
Generally speaking, it’s OK to add:
- Non-citrus fruit
- Vegetables
- Cooked starches (don’t overdo it with bread and pasta)
- Tea
- Coffee
- Paper and cardboard
Try and avoid:
- Onion
- Garlic
- Raw potato skins
- Citrus peel/scraps
- Dairy
- Meat

There is always a little bit of trial and error involved when you first get a worm bin. My advice to anyone starting out is not to be afraid of experimenting and to read as much as possible!
Quick troubleshooting guide:
- Food not going anywhere. Solution: Feed them less.
- Flies. Solution: Cover the food with a “worm blanket”. Ensure a tight fit.
- Smells. Solution: Incorporate food into the mix more thoroughly by digging a trench. Make sure you’re not adding meat/dairy.
Features to look for in a worm bin
- Tightly sealed – The last thing you want is rodents sniffing around your precious food scraps!
- Good aeration – Worms need air (they breathe through their skin) so make sure there are air holes.
- Drainage tray – Moisture will drain to the bottom of the bin. You can extract this and use it as plant feed.
- Long(ish) legs – Long legs will be good for deterring critters.
Best worm bins: Some picks from around the web
***Full Disclosure – Where appropriate, I’ve linked product images to commercial sites and Amazon (see Amazon Disclosure). If you buy from these sites, I earn a small affiliate fee, which helps me keep Urban Turnip going.***
Worm Factory 360 Bin
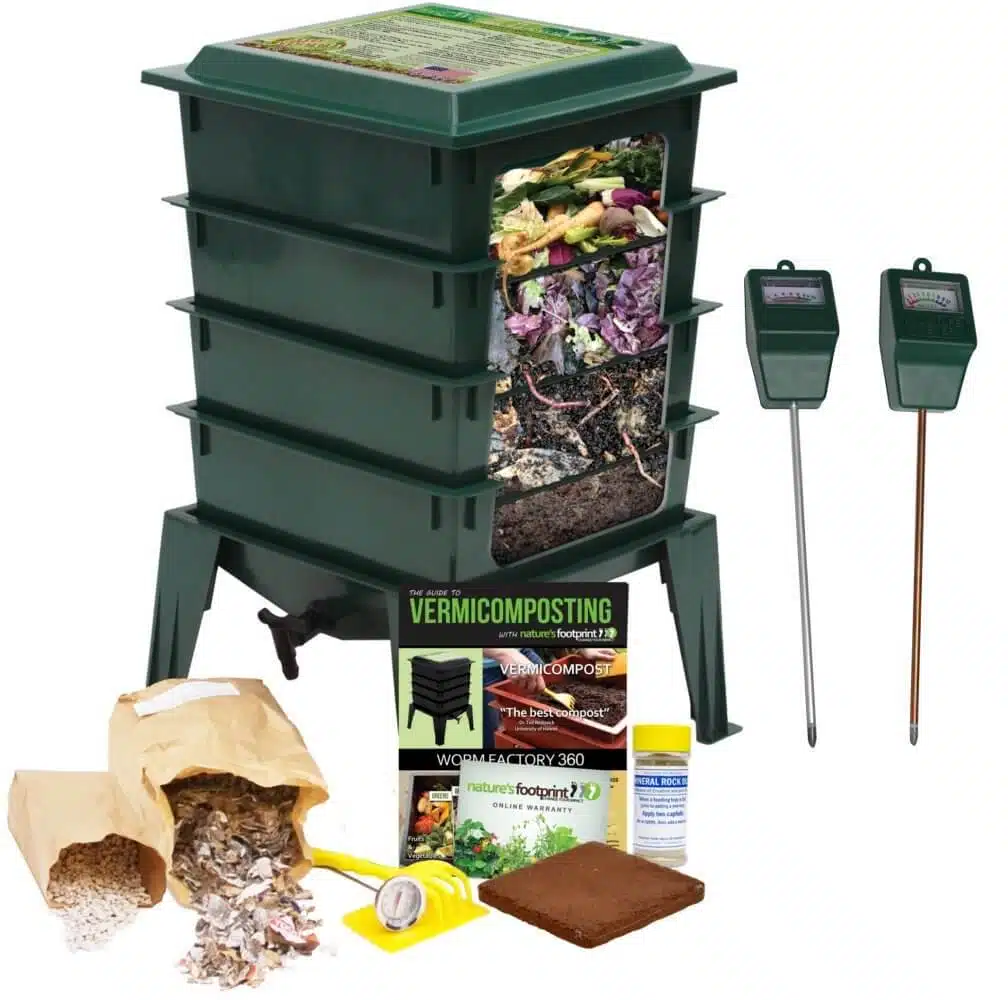
The Worm Factory is a very popular worm bin, and is available in the US and Canada. One of the main benefits is its adjustable size: up to eight trays can be added. There is a tap at the base for removing any excess water. The included “worm ladder” is a cool innovation too as it allows water to collect in the base of the bin without trapping worms. It’s also available in in three colours – black, brown and green.
It comes with a lot of the materials and tools that you need to maintain a healthy environment for your worms. A coir block for bedding is included and you will also get a thermometer, a moisture meter and a pH meter. There are extensive instructions (so it’s a good option for beginners)
Urbalive Indoor Worm Farm
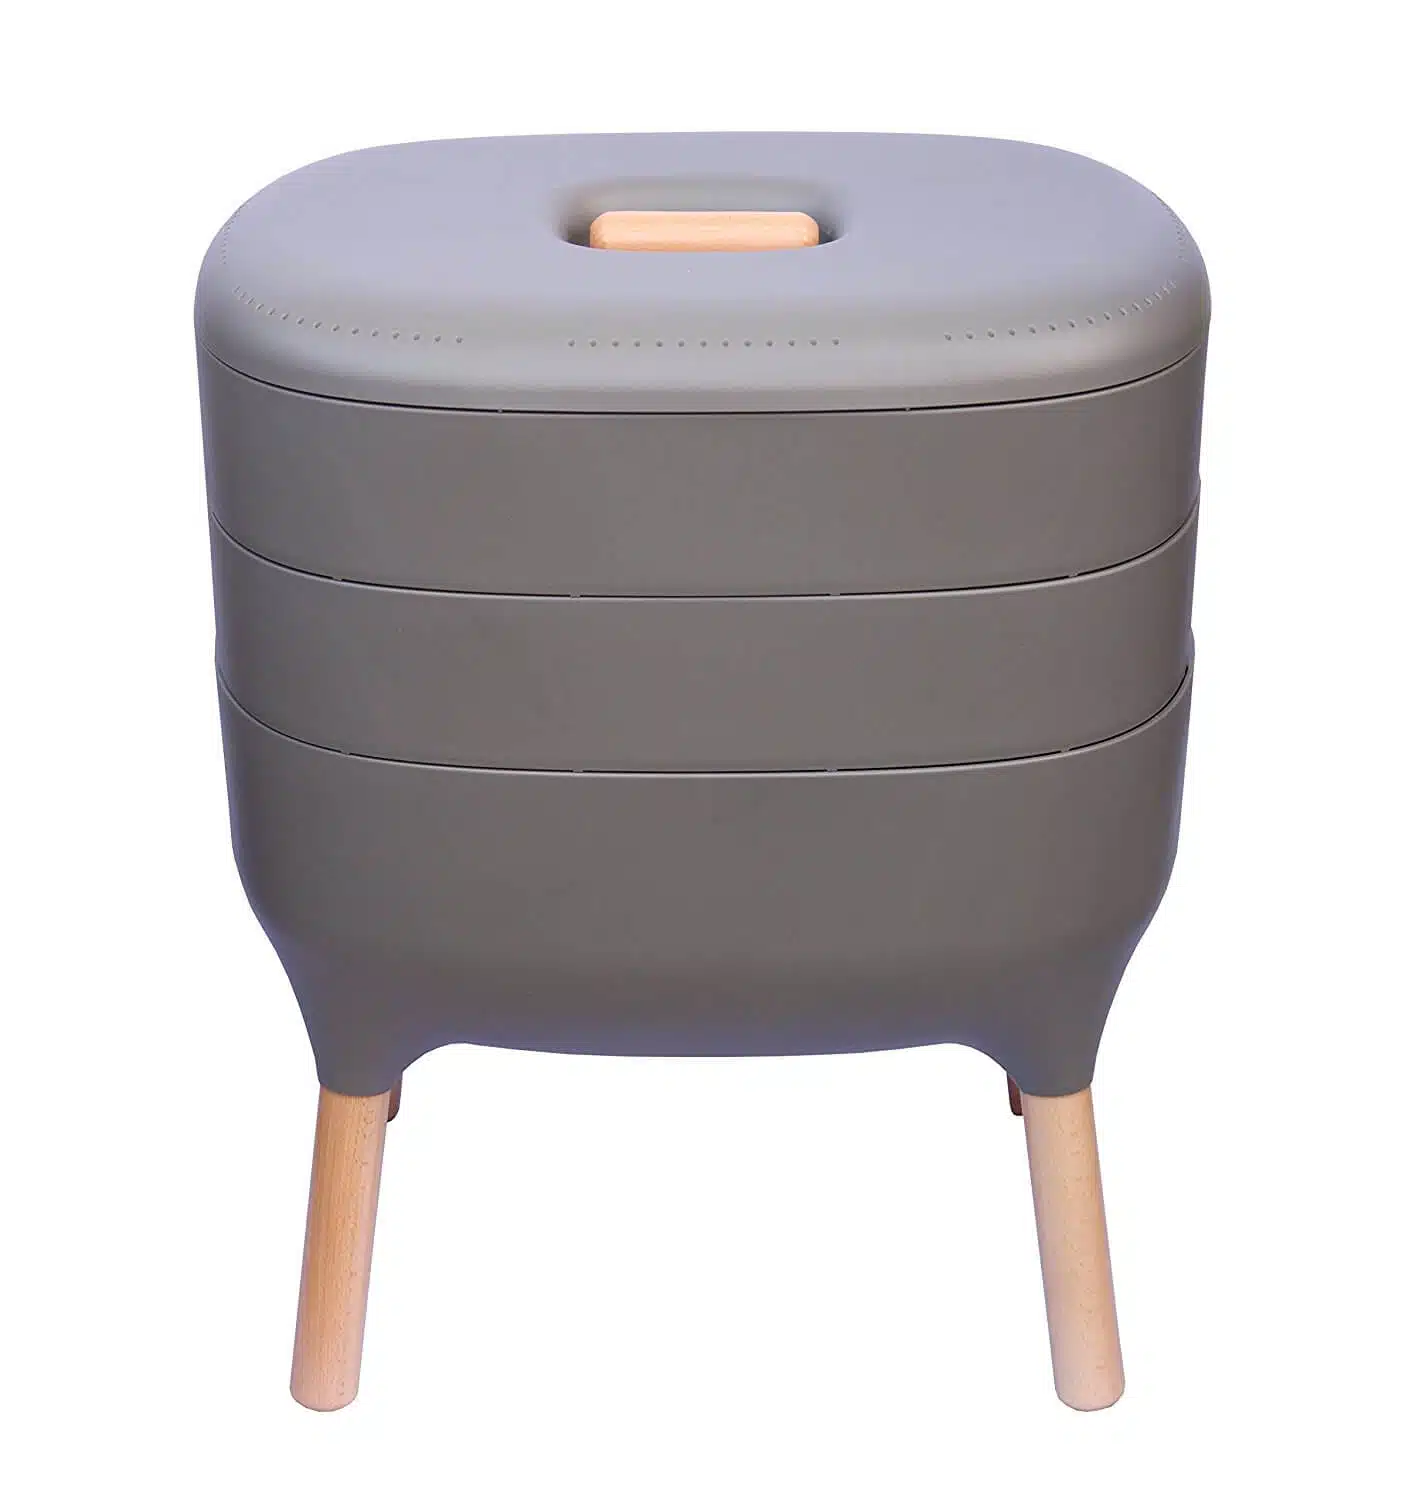
This very attractive “indoor” worm farm is ideal for urban and indoor gardeners because of its compact size. It is meant for use inside but you’ll get away with using it outside if you want to. City microclimates tend to suffer less from temperature extremes so that can be one less thing to worry about.
It comes with three trays and is simple to put together (the legs screw in). It is made in a very similar design to the worm factory but is smaller, more compact and (in my opinion) looks a lot better. It is a little high on the price spectrum for a unit of this type but I think it’s worth it for the aesthetics.
Hungry Bin Worm Farm
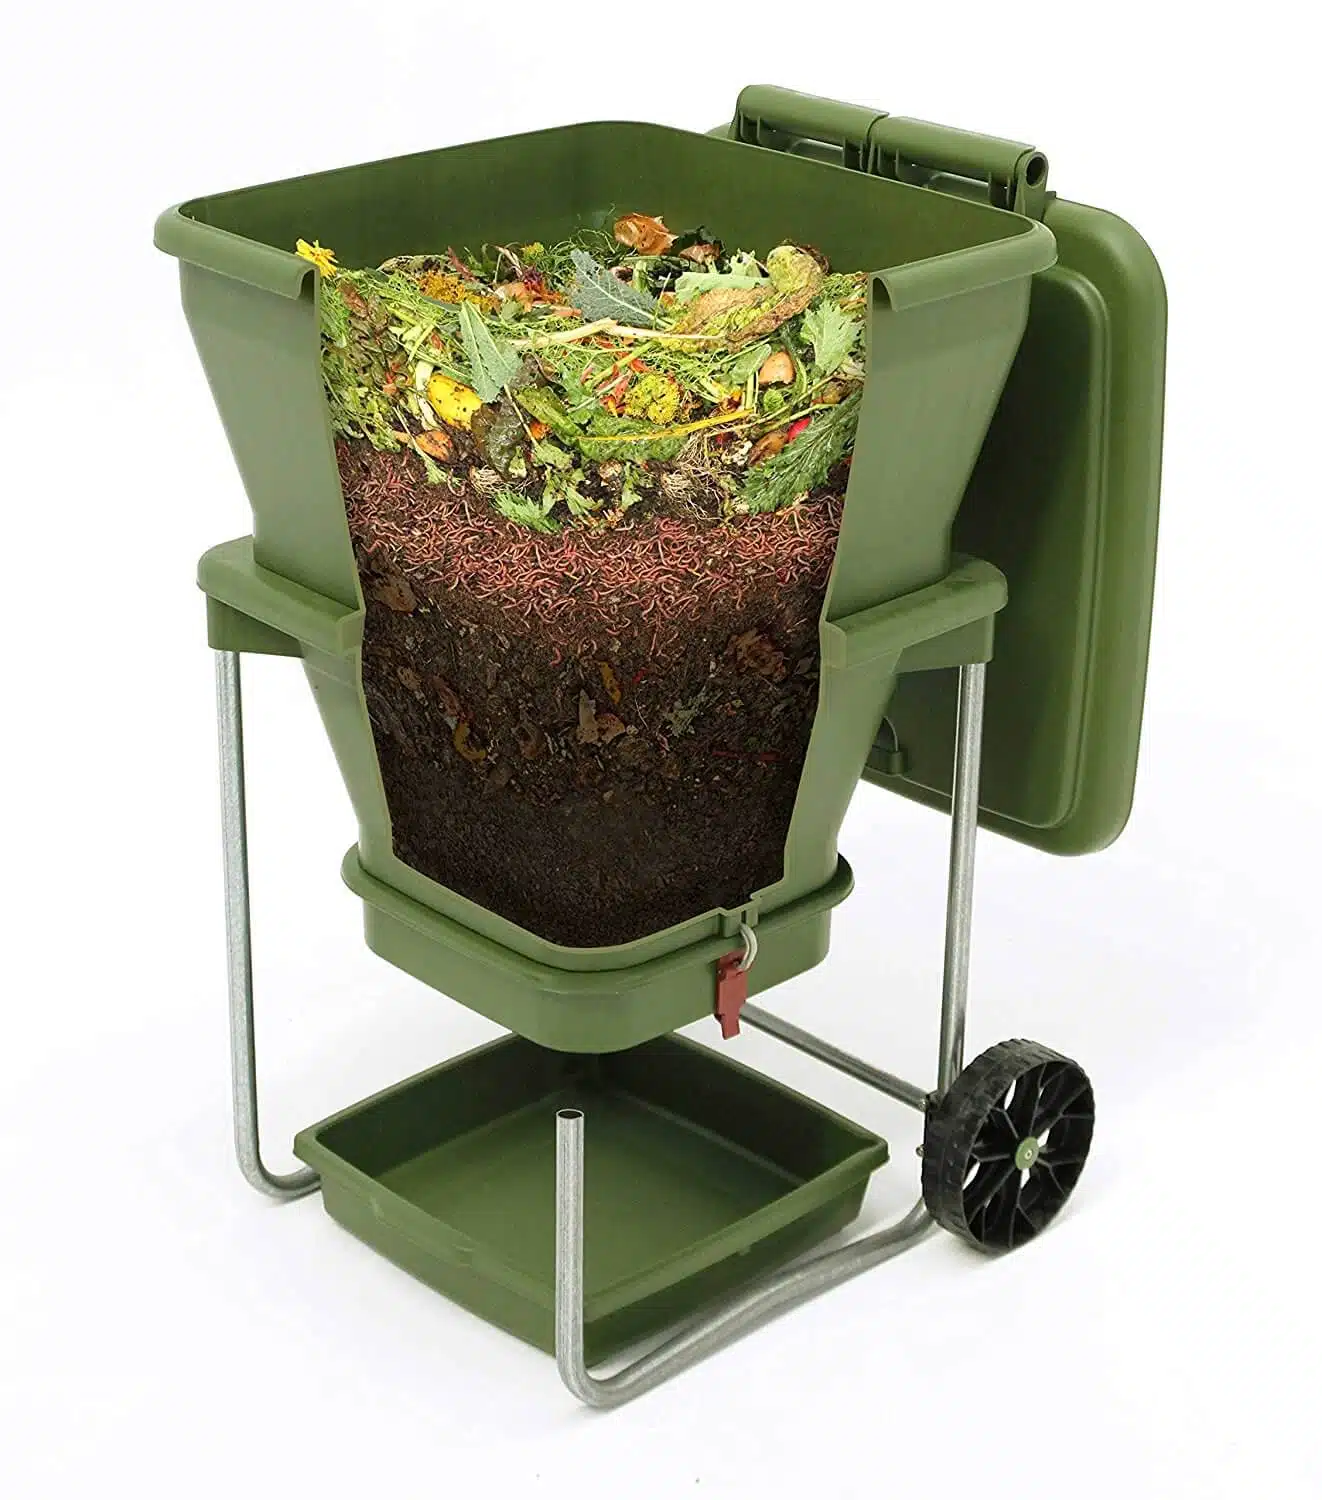
The unique thing about the “Hungry Bin” is that it doesn’t have any trays. The inverted cone design allows the vermicompost to be quickly extracted from the bottom without disturbing any of the worms. If you want to regularly take vermicompost from your bin then this is the product to go with.
A lot of people also complain that worm bins can be a nightmare to move. If you need to get your wrigglers out of the cold (or the heat), then it can be a problem. The wheels on this bin are a simple remedy. It’s a sturdy, very high-quality bin.
Let us know your thoughts! Leave a comment below!
Have you got any experience with the worm bins listed here? Leave a comment below and let me know!
Image credit: Protopian Pickle Jar


Have a look at Wormbox to buy compost worms if you are in Canada (Red Wigglers and European Nightcrawlers). Wormbox is a real ecologicial urban worm farm in a 1700 square feet warehouse in Montreal, Quebec and ship anywhere in Canada. Their composting worms are raised with a philosophy of circular economy by using organic matter that would otherwise be sent to landfill, such as cardboard boxes, coffee grounds, fruits and vegetables thrown away by local grocery stores, that they transport with an electric cargo bike. All the supplies needed to start vermicomposting is available to order: worm farms, bedding, beneficial nematodes and diatomaceous earth. Even their own nutrient-rich worm castings is available to help your garden and indoor plants grow.
Thanks for the suggestion Fred.